Tested for absolute safety
Accredited testing laboratory in Stuttgart
Test and inspection laboratory for all types of contract testing
In our test and inspection laboratory, we carry out various contract tests on behalf of our customers - to ensure the process and manufacturing quality of products, components or materials. For mechanical and electronic components. From A for material analysis and P for test specimen findings to W for whisker analysis and Z for tensile and compression testing. As a long-standing contract service provider for various industries, we know the problems inside out - and can provide support throughout the entire product life cycle on request. Also when it comes to cleanroom production!

Schweißnahtanalyse
Schweißnahtanalyse
Mehr Infos
Sichtprüfung
Sichtprüfung
Mehr Infos
Whiskeranalyse
Whiskeranalyse
Mehr Infos
Härteprüfung
Härteprüfung
Mehr Infos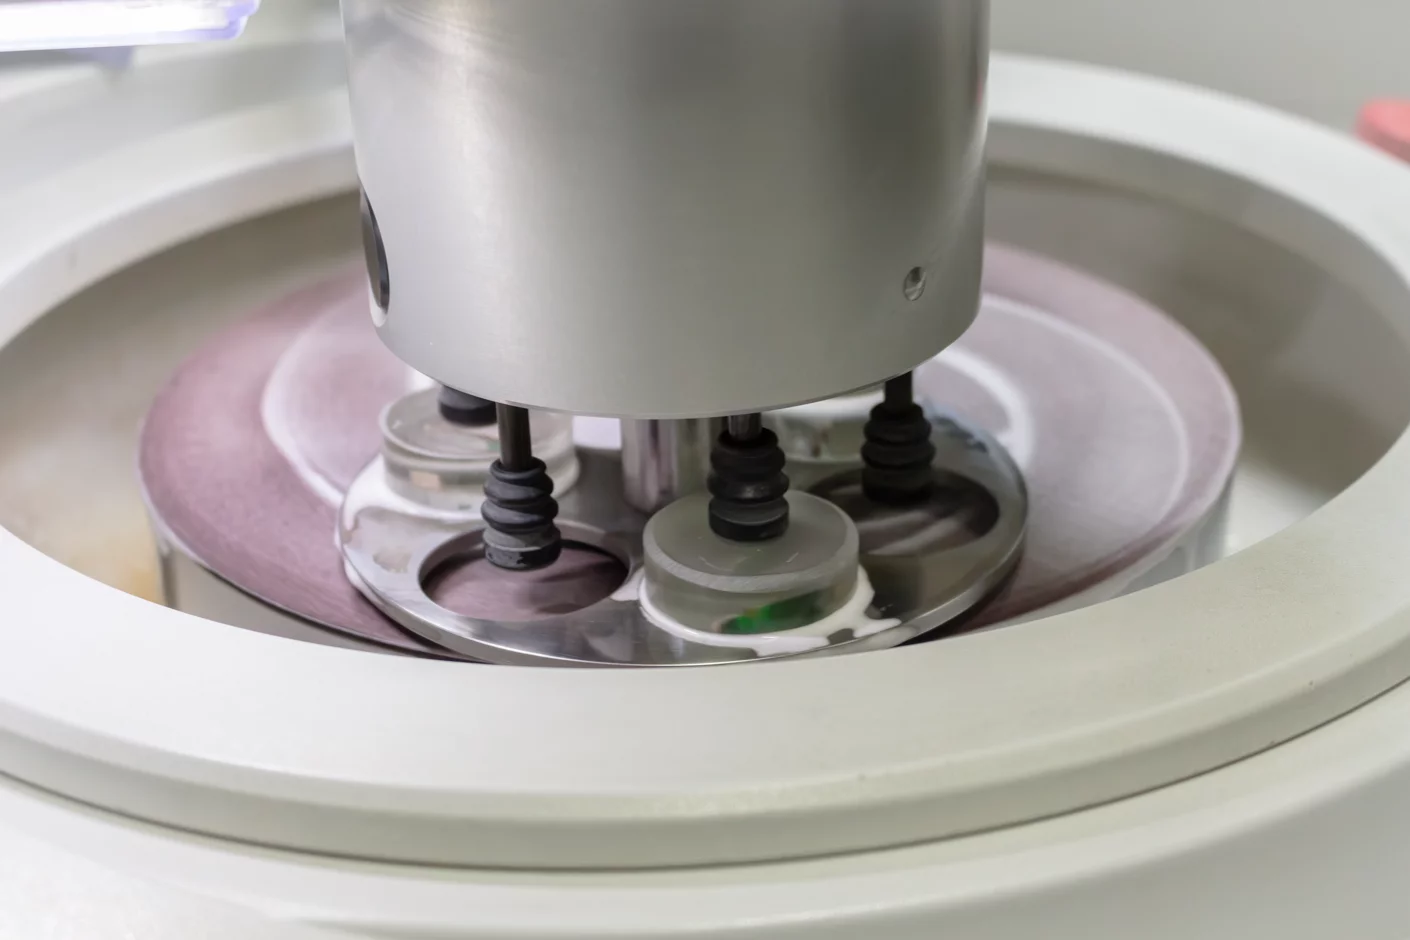
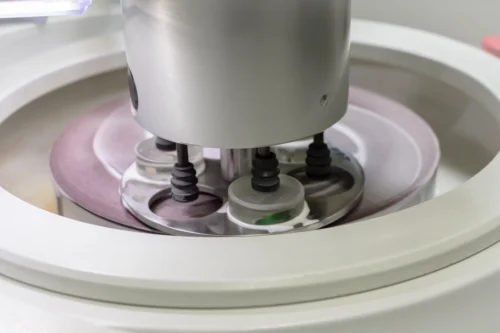
Ground joint position
Assessment of the connection to the printed circuit board and polishing of components. We carry out a thorough analysis of cracks, crack patterns and pores in solder joints.
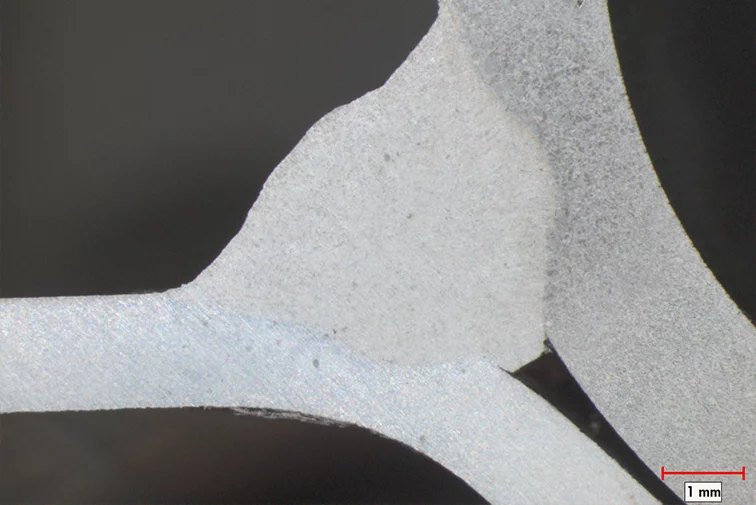
Weld seam analysis
The weld seam analysis ensures that your welding processes and reliable weld seam testing are safeguarded in order to prevent or detect potential problems at an early stage. Whether MIG/MAG, TIG, arc welding, laser welding and more.
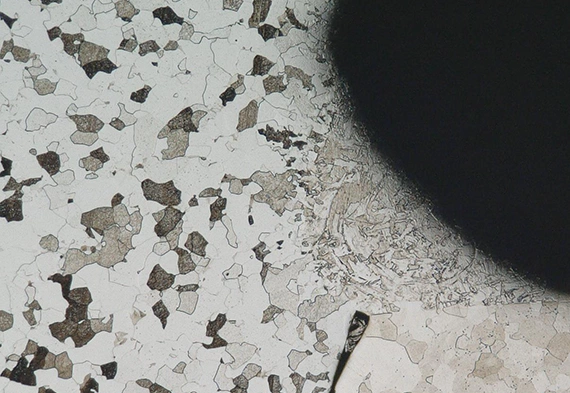
Structural analysis and investigation
The microstructure analysis of materials provides information about the quality and properties of materials and samples. This provides you with answers to questions regarding service life, durability or susceptibility to damage. Whether for metals, ceramics, polymers or composite materials.
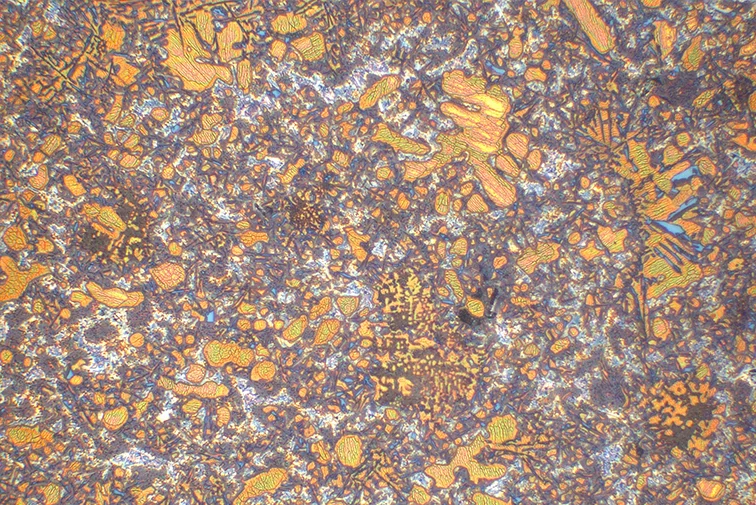
Intelligent material analysis
Intelligent material analysis is the keyword of the future. We use modern methods to analyze and evaluate chemical material compositions, such as grain size analysis, porosity analysis, particle analysis, cast iron analysis, multiphase analysis, layer thickness analysis and more.
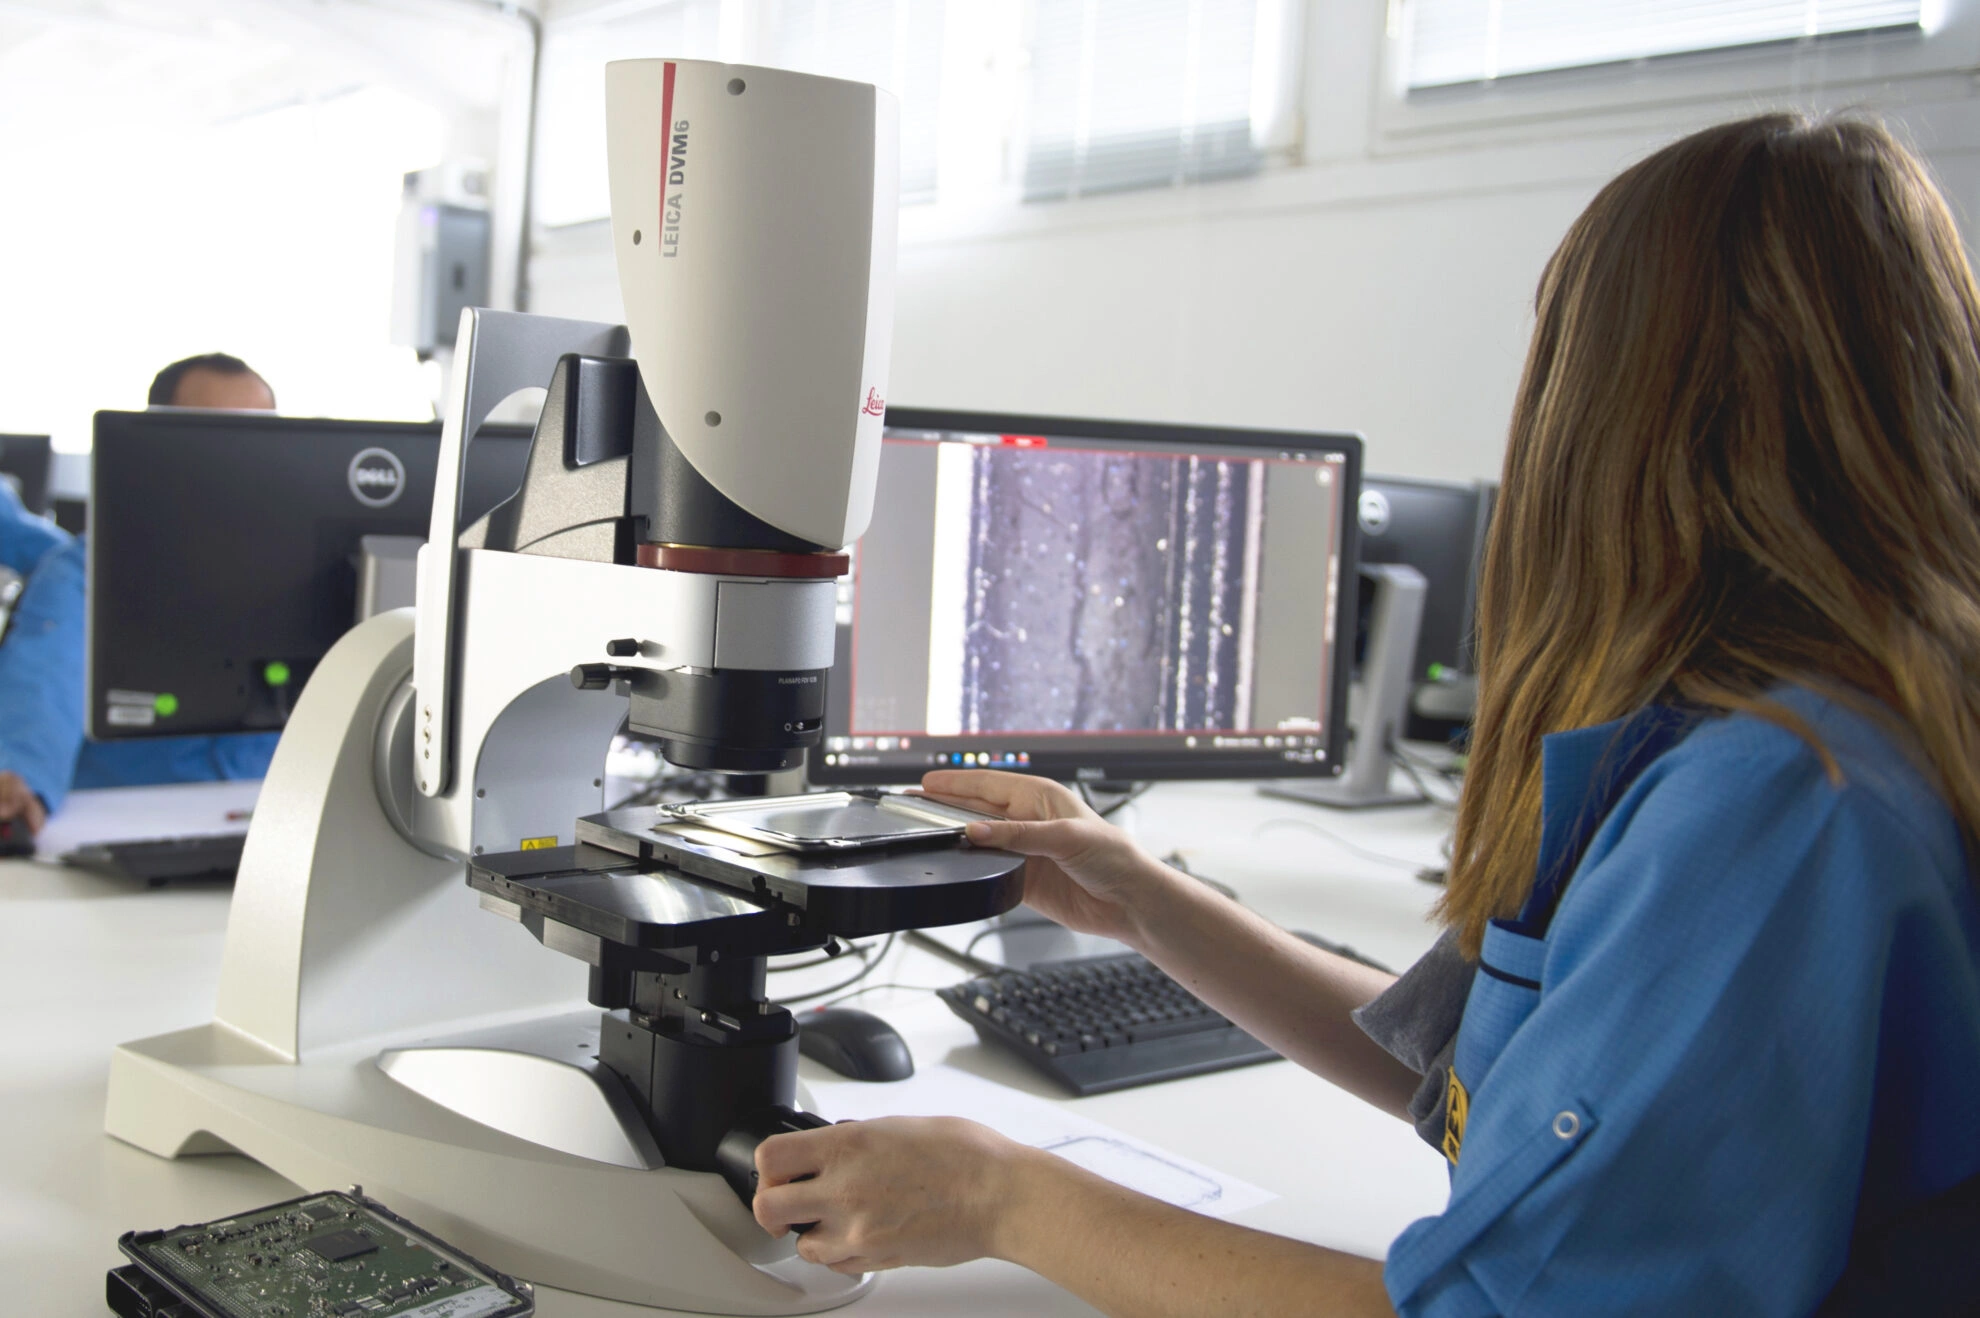
Visual inspection
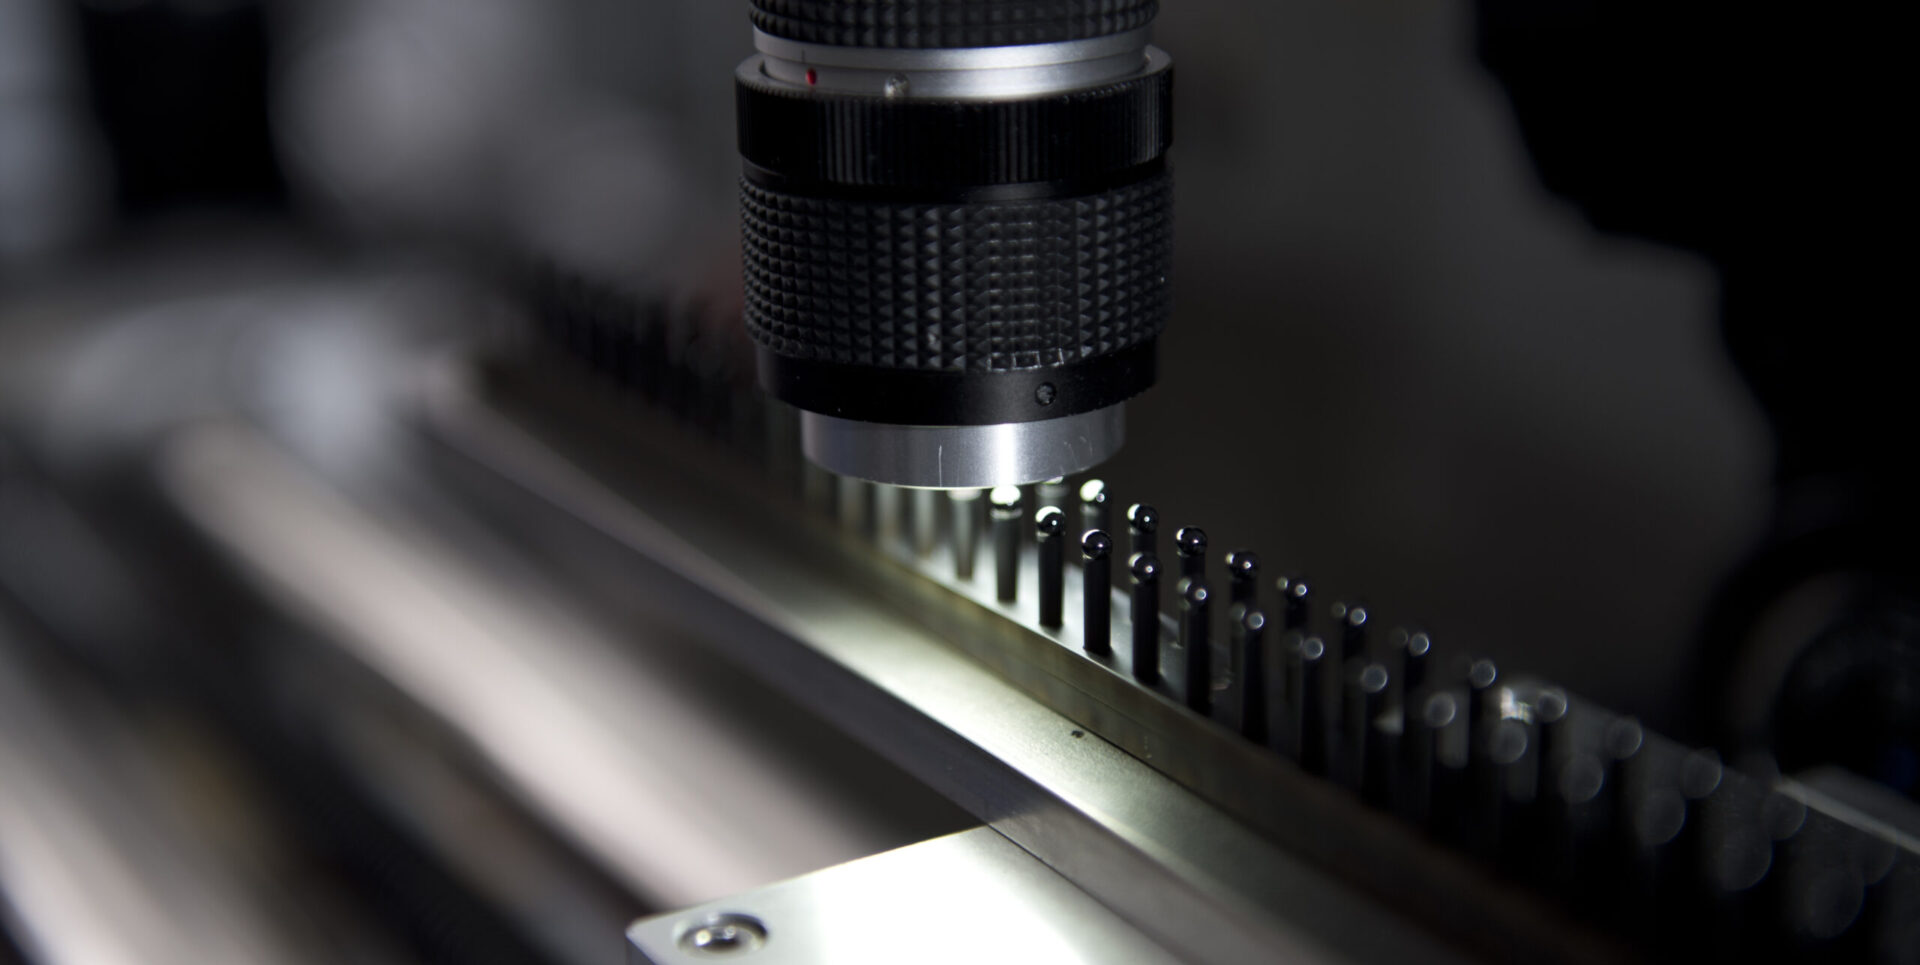
The visual inspection brings it to light. We carry out visual analyses of electronic parts, components, elements, assemblies and printed circuit boards in accordance with accredited procedures. In accordance with the IPC-A610 and IPC-A600 standards.
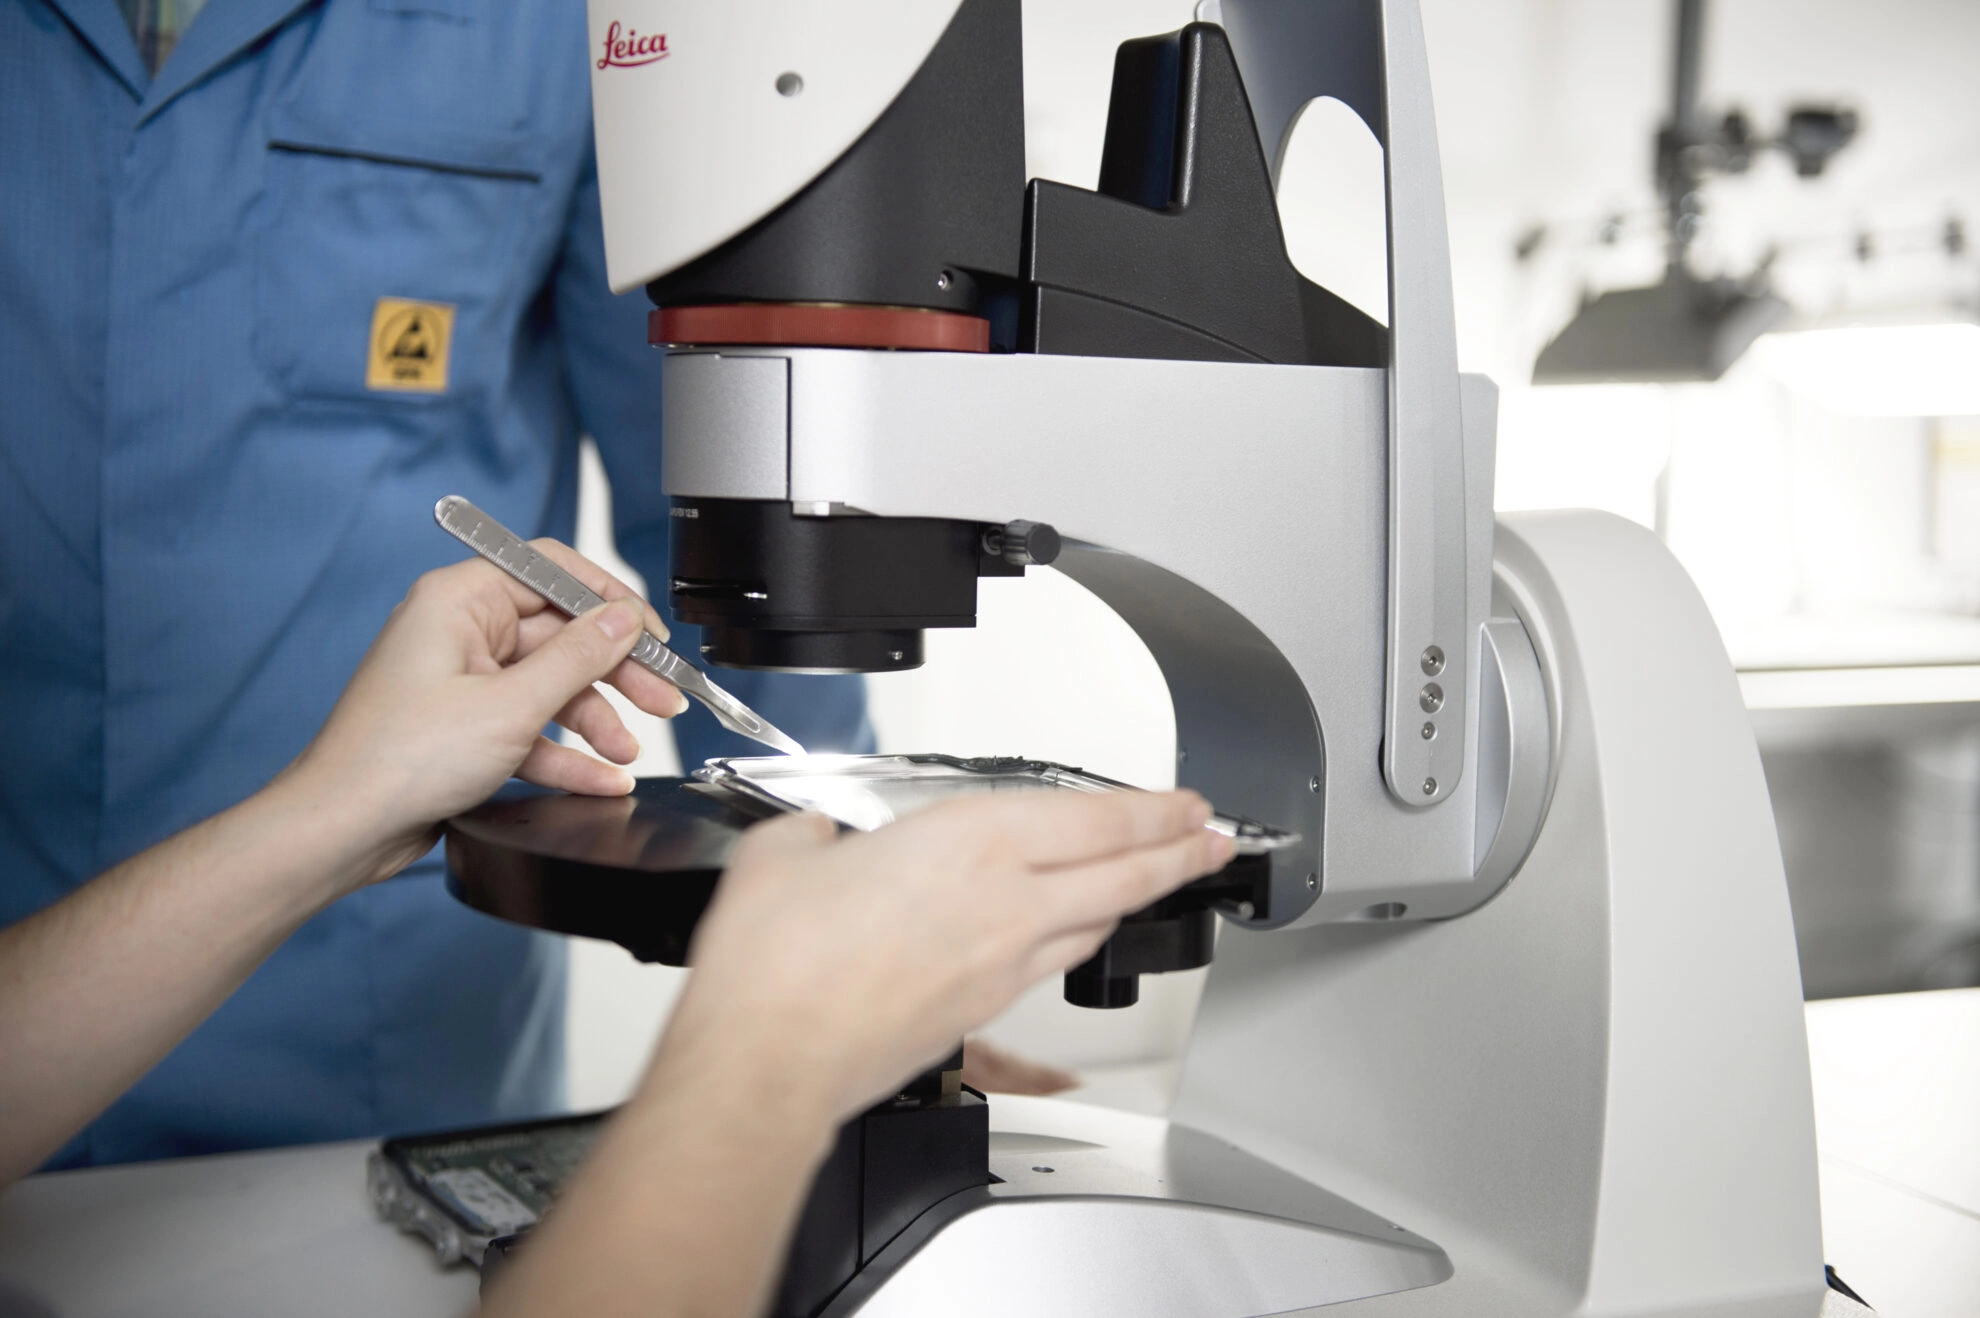
Test item findings
The test item findings also validate your tests. Special features or quality defects can be identified immediately and suggestions for improvement can be developed to increase process or product quality. Danger recognized, danger averted.
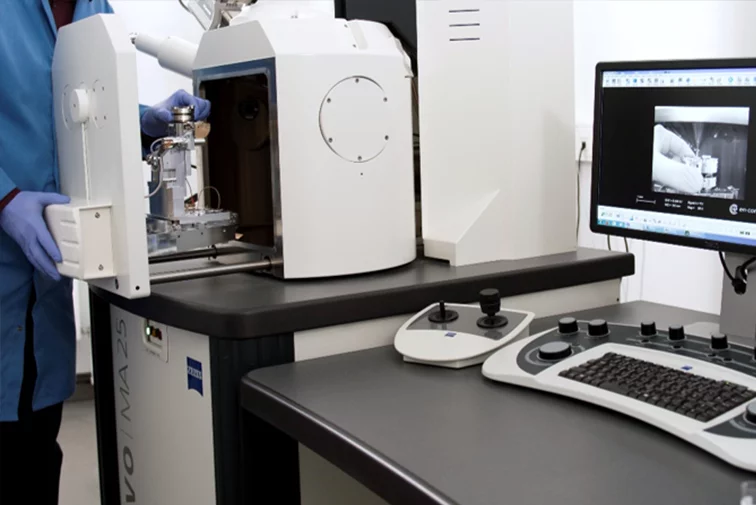
Scanning electron microscope (SEM) analyses
We carry out material analyses in the microstructure area using scanning electron microscope analyses. From material determination to quality control and defect analysis. Whether material contrast images (BSE) or X-ray fluorescence analysis (XRF) to determine chemical elements of the sample material. The CL detector examines fluorescent plastic layers, materials or cracks.
EDX analysis
EDX analysis ensures precise material determination. This gives you detailed insights into the chemical properties of your samples.
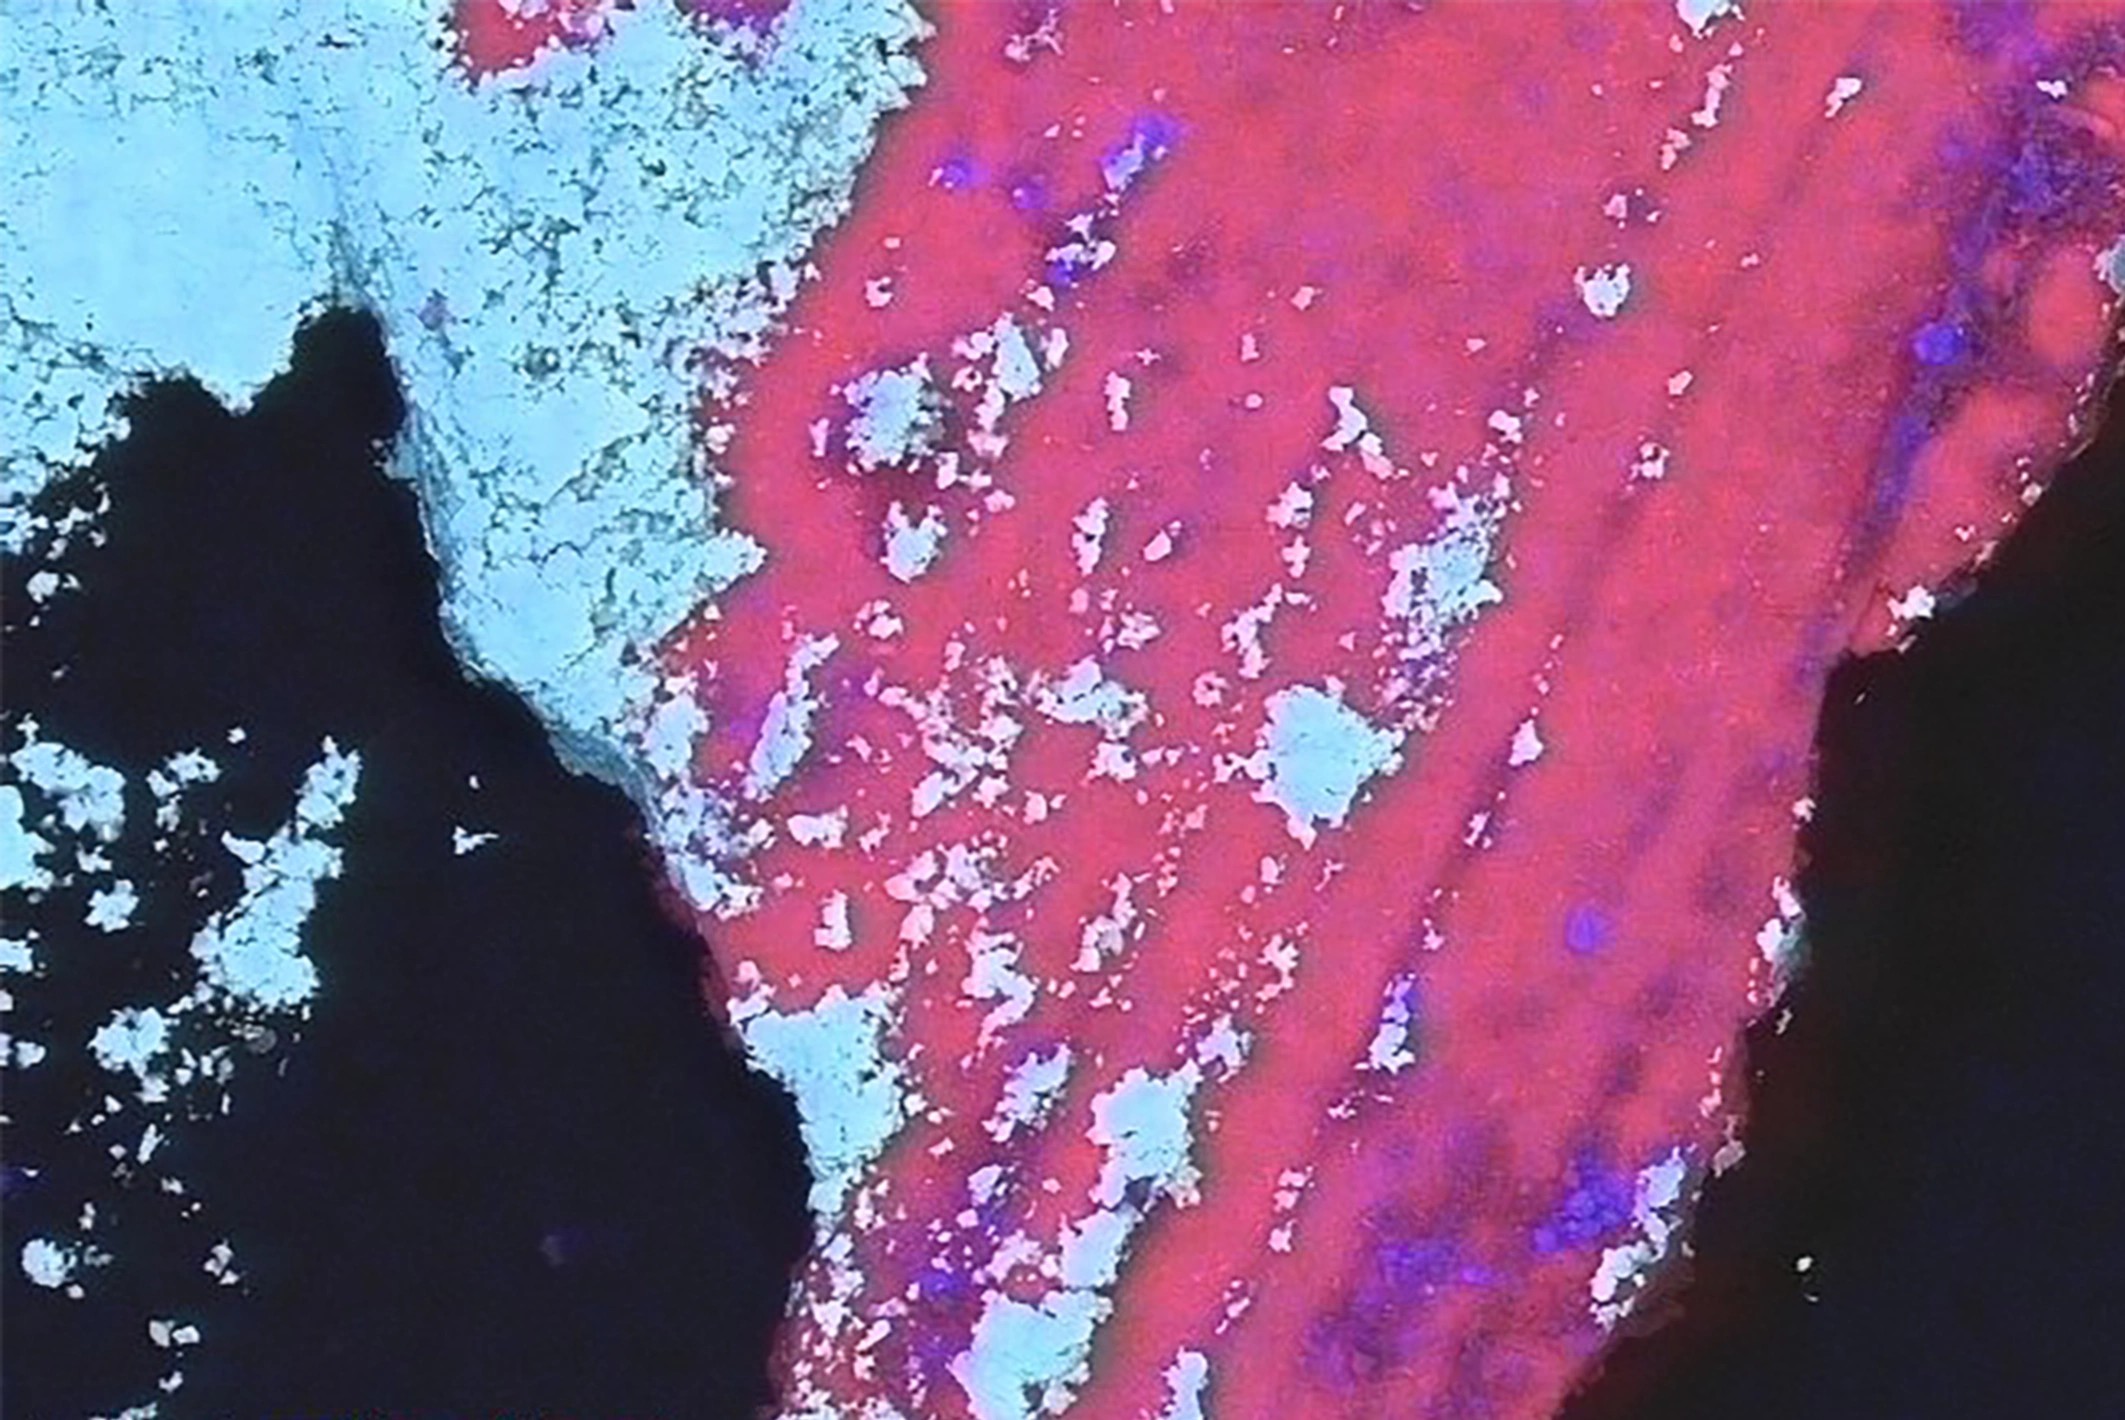
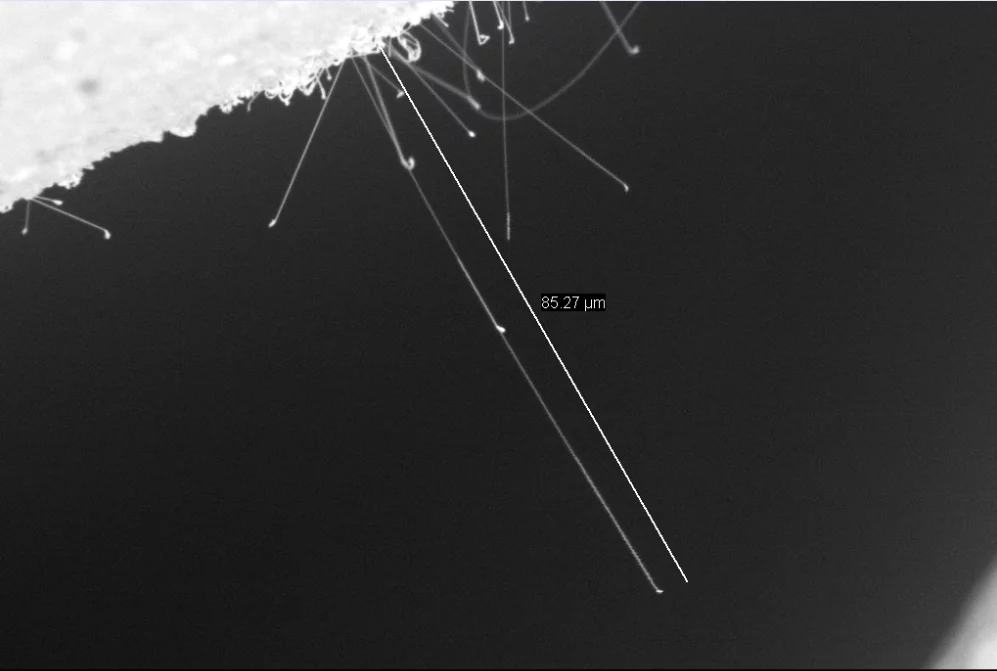
Whisker analysis
Using whisker analysis and state-of-the-art laboratory equipment, we analyze components with regard to short circuits and susceptibility to failure.
Damage analysis
With damage analysis, we carry out systematic and optimized troubleshooting on your behalf. You give us the order - and we can carry out the correct fault analyses independently using an arsenal of analysis methods.
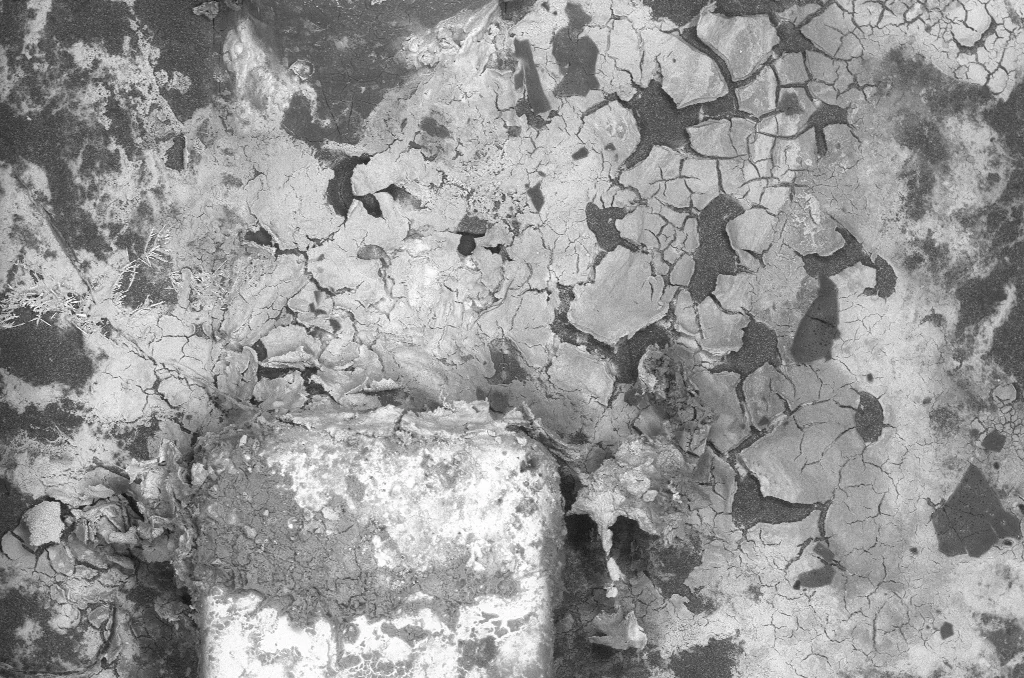
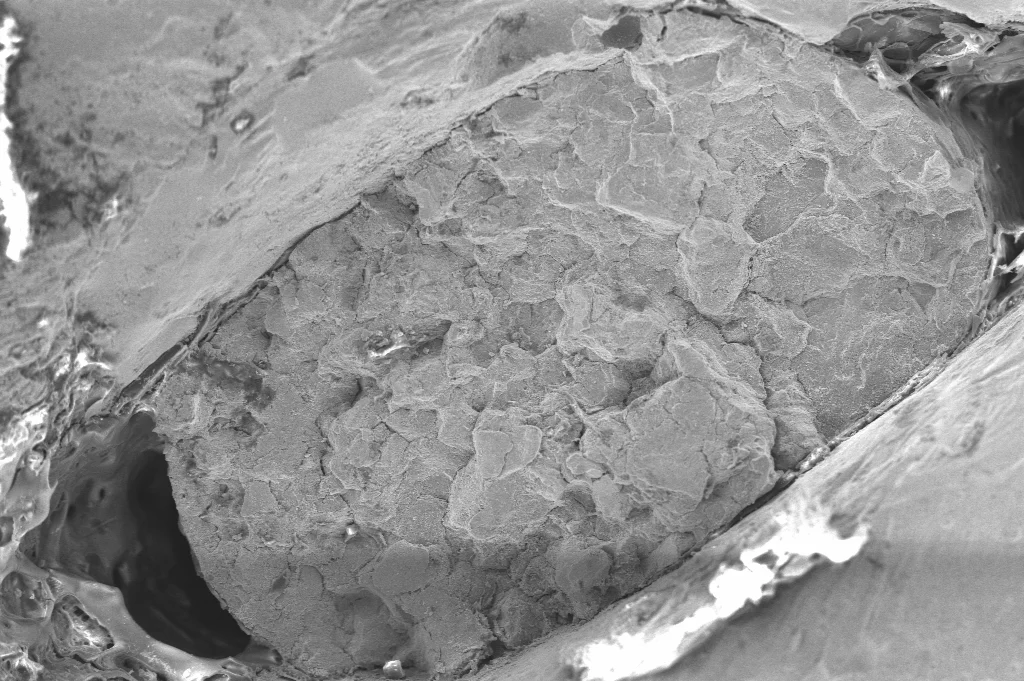
Fracture surface analysis
The fracture surface analysis reliably examines the fracture surfaces of various materials, such as metal, plastic, ceramic and composite materials (carbon) to solve and recommend various quality issues.
Surface topography (LSM)
Surface topography via laser scanning microscope (LSM) reveals the finest surface details. Analyses such as the measurement of surface roughness in the radius are included. Visualization takes place in 3D.
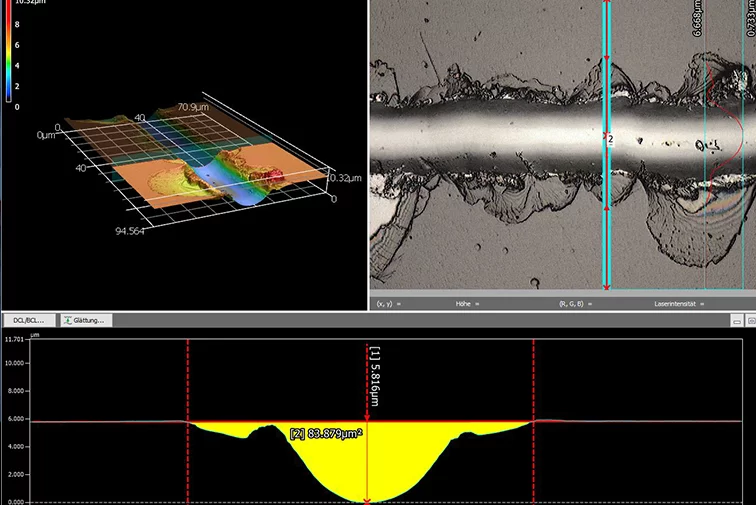
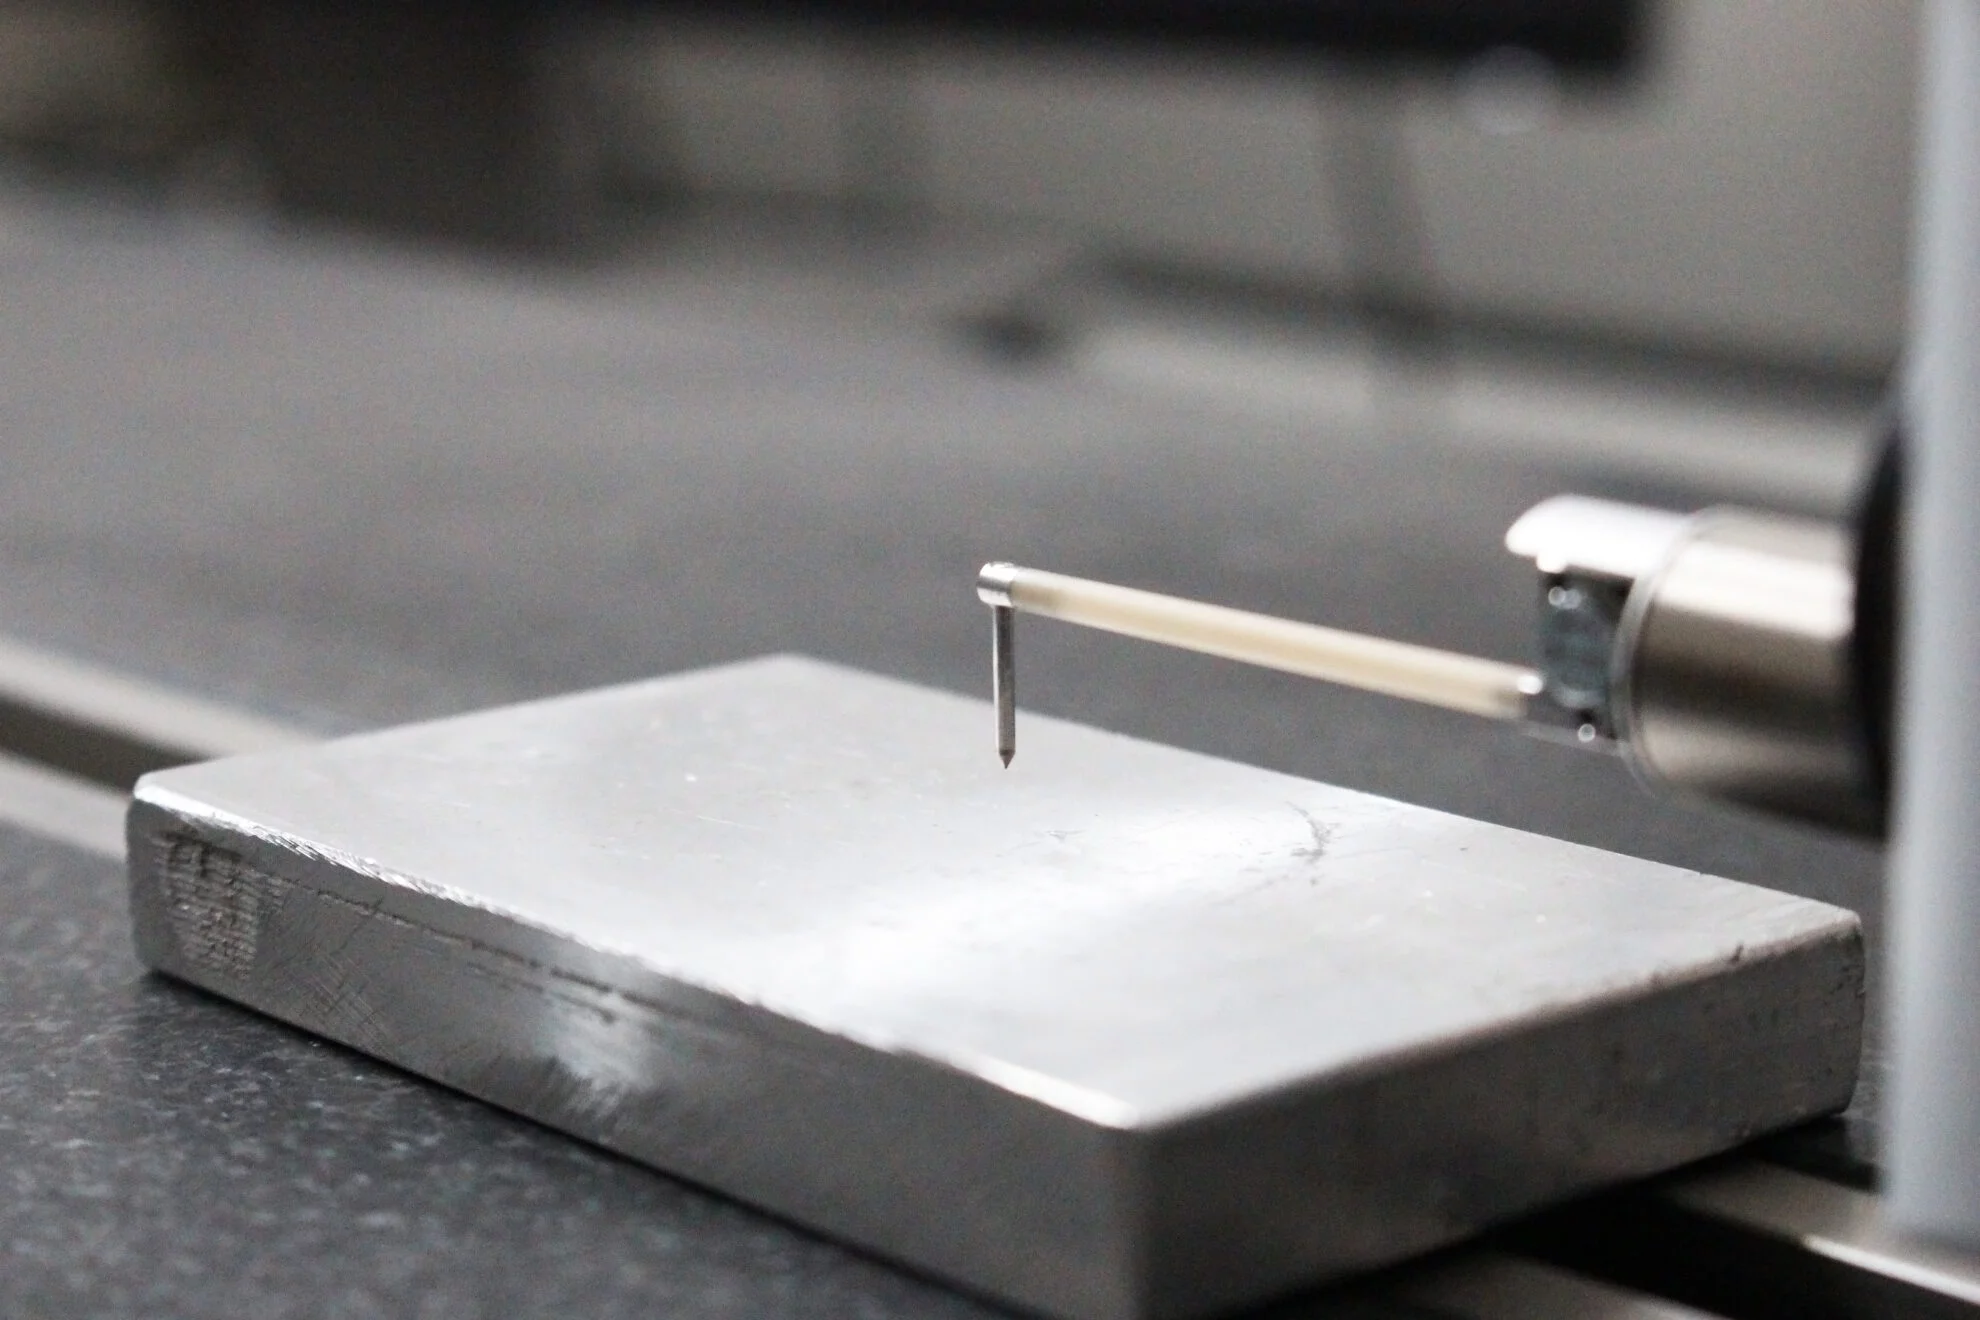
Roughness measurement
Roughness measurements with a tactile measuring machine in accordance with DIN EN ISO 21920-2. Surface inspections or laser scanning microscopy can also be booked.
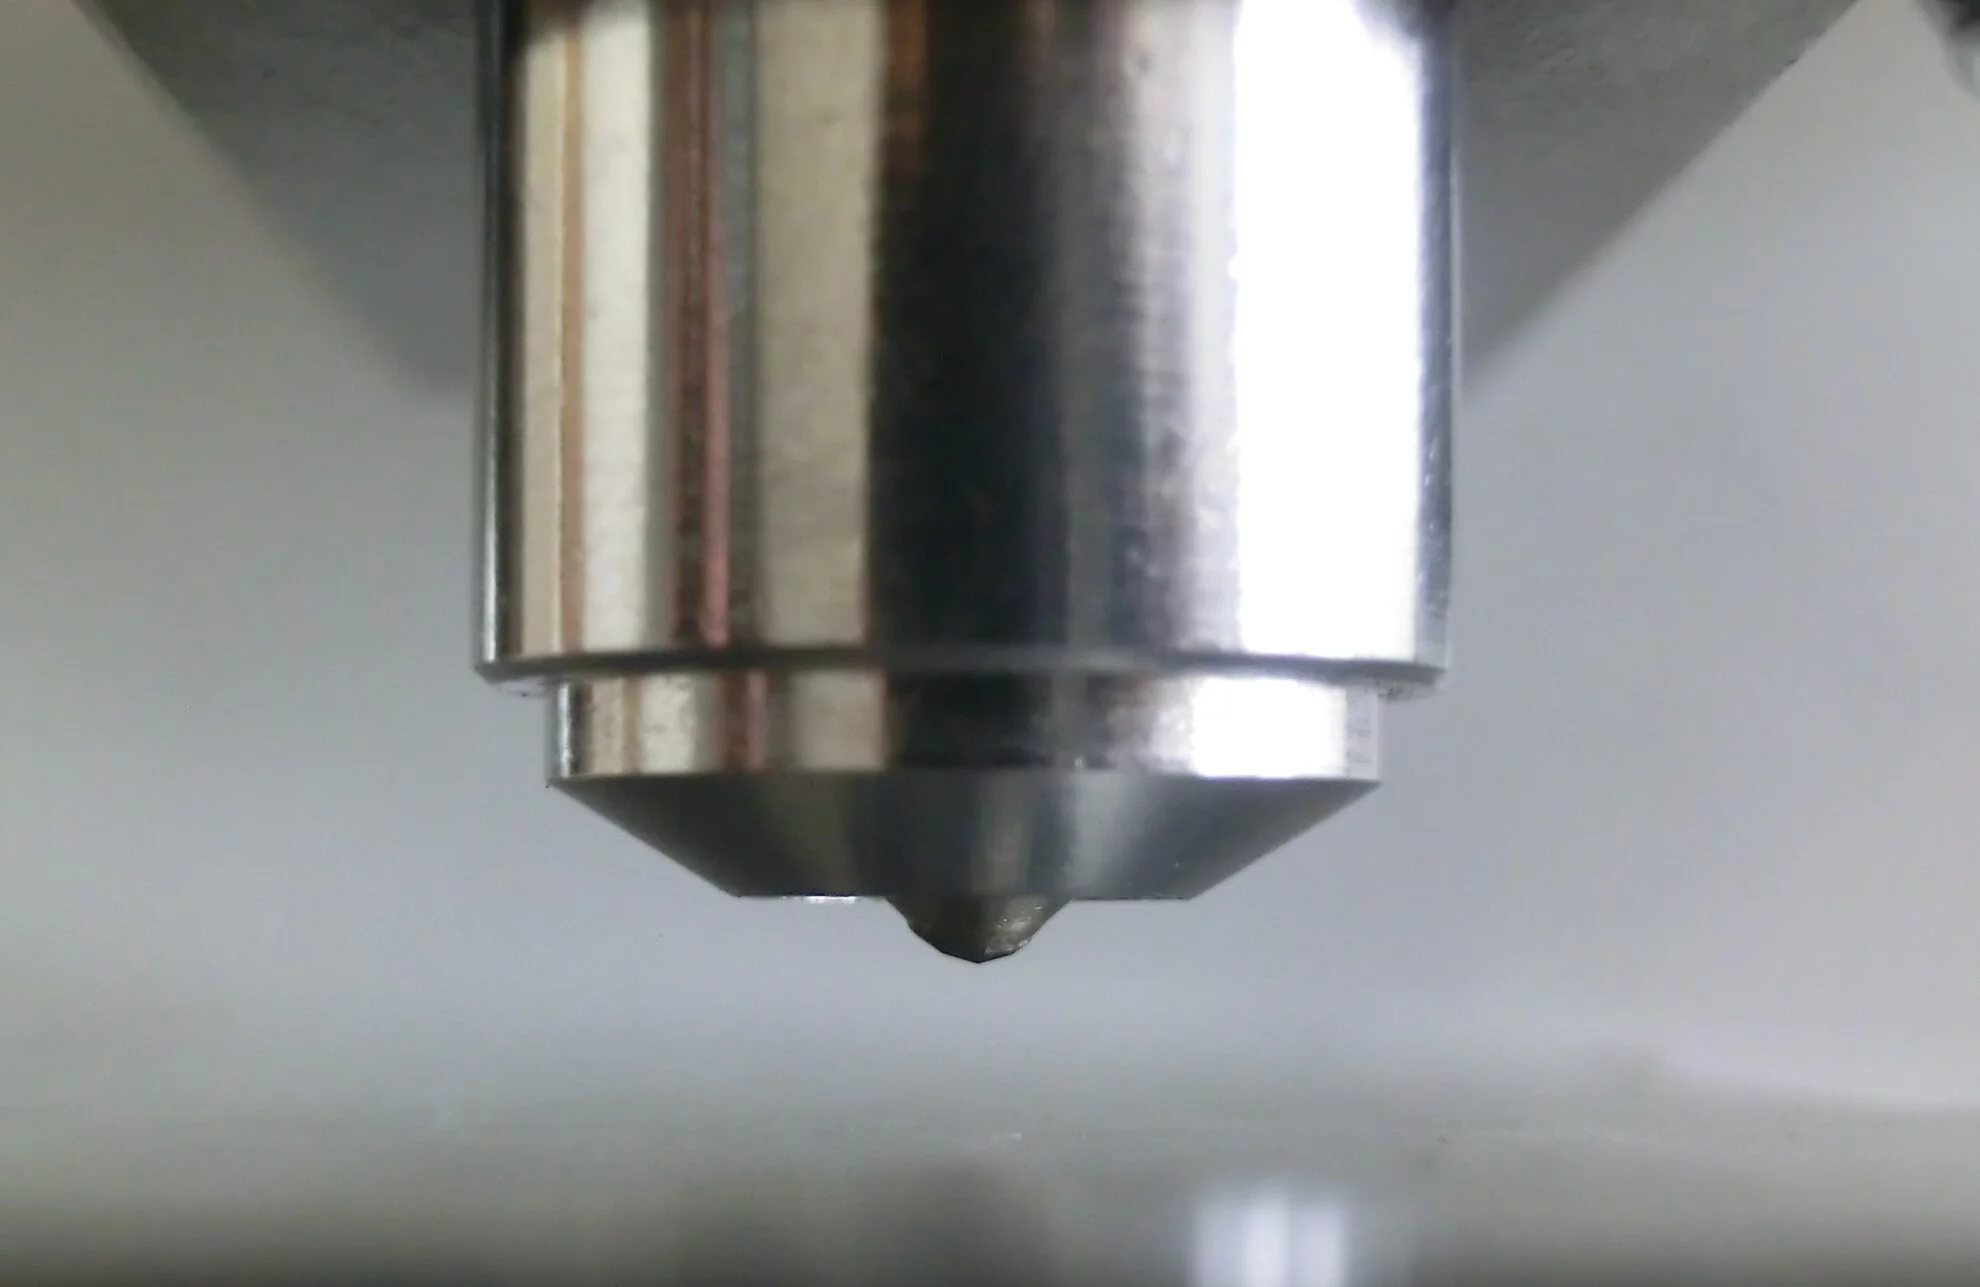
Hardness test
Vickers hardness test in accordance with DIN EN ISO 6507-1. Determination of the surface hardness of metal, ceramic and other materials (measuring range: between HV 0.05 and HV 10).

Tensile and pressure testing
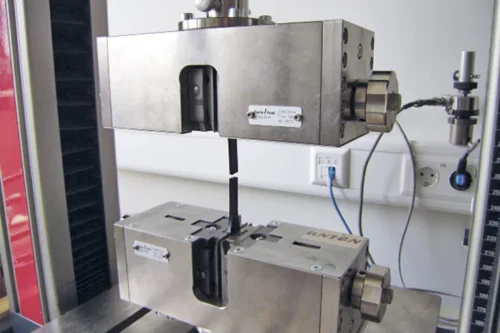
Tensile and compression tests to determine tensile strength, elongation at break, yield strength and compressive strength. Another area of expertise: press-out force measurements on the pins of the male connectors of control units.
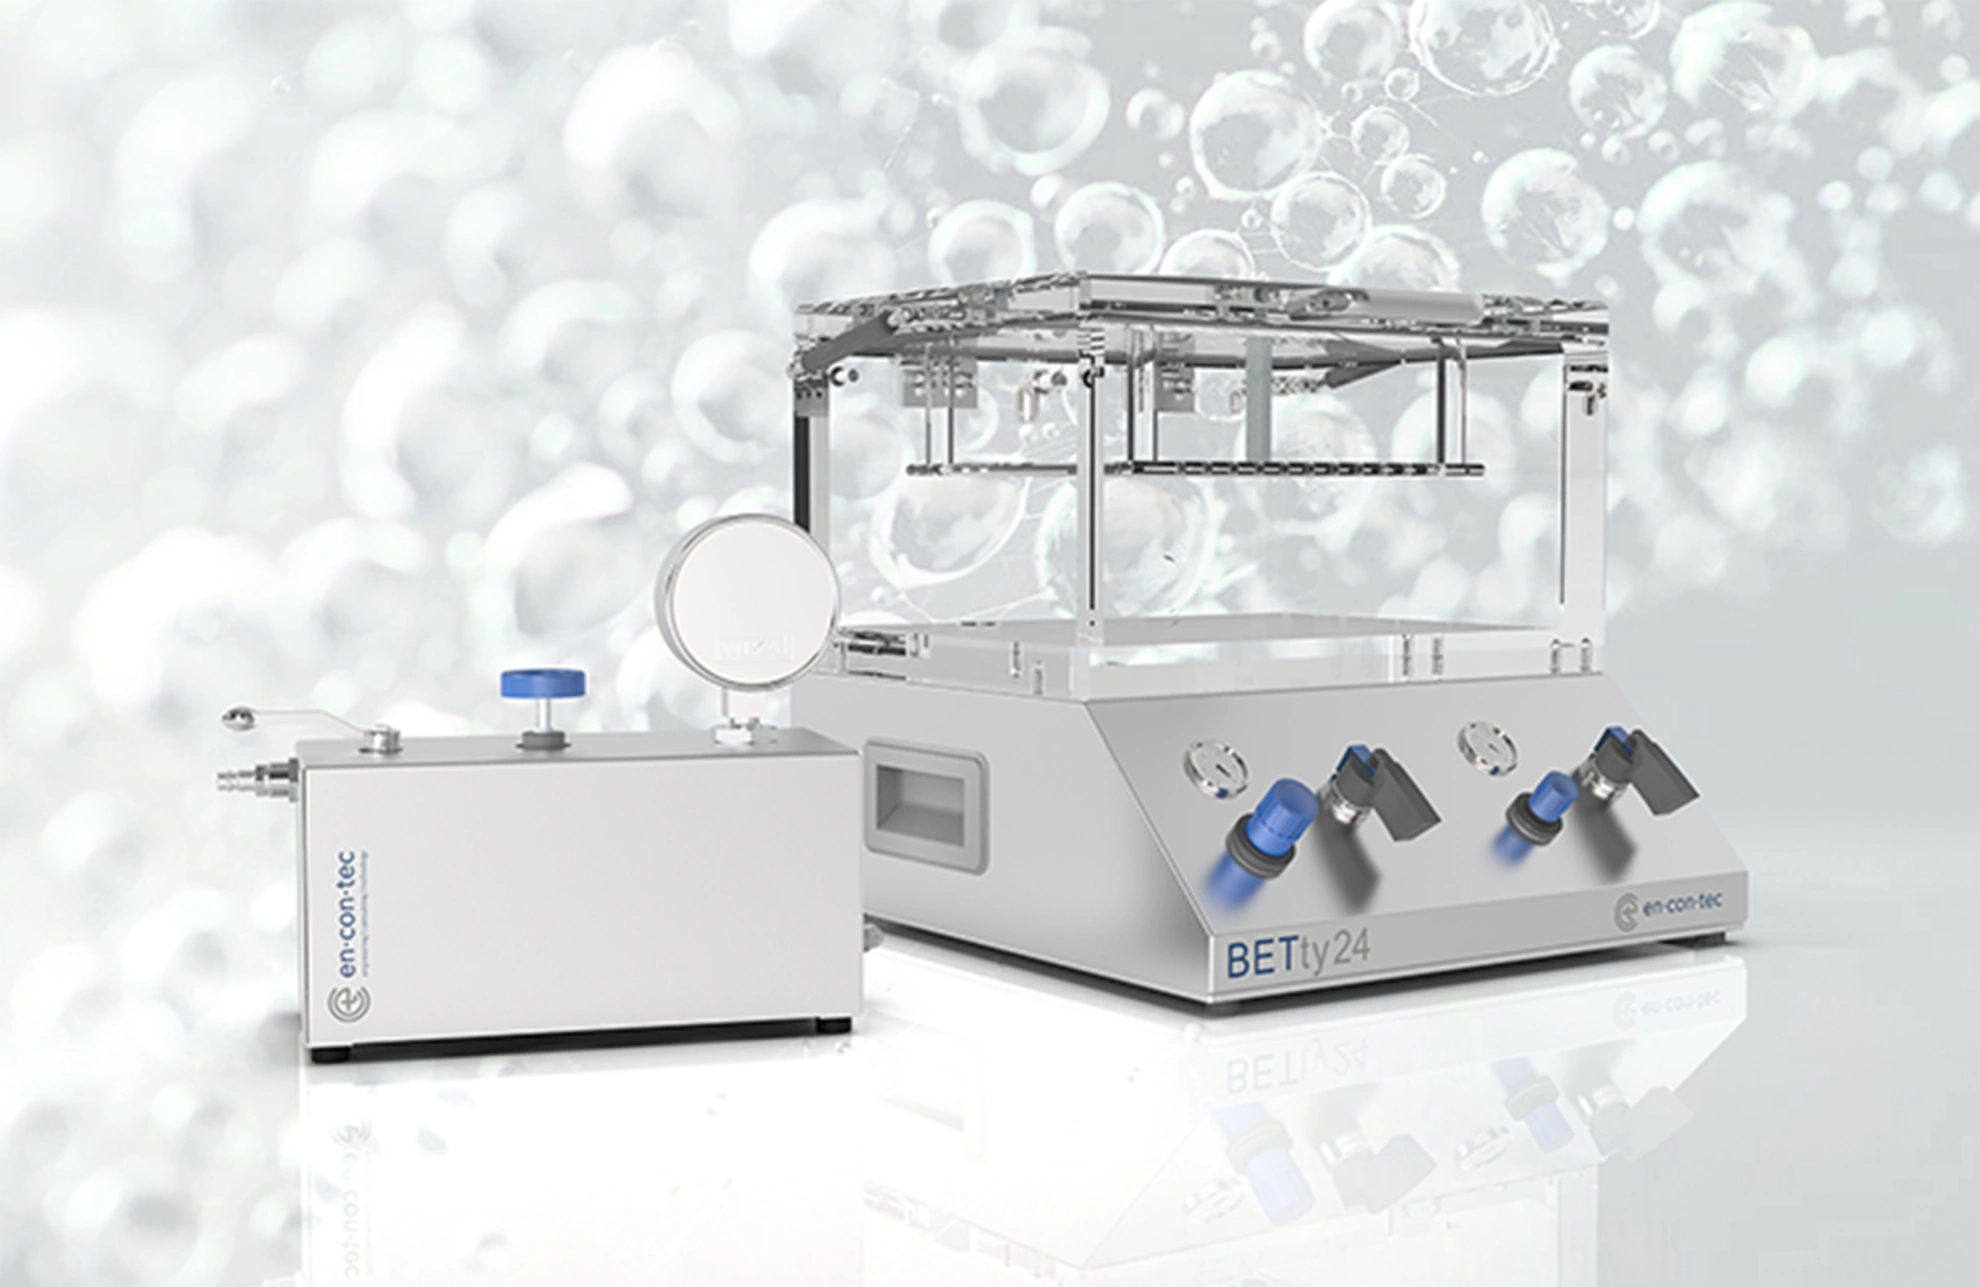
Leak test / bubble test
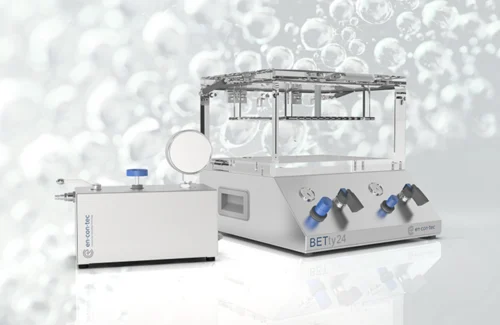
Our Bubble Emission Test System, BETty, is a water bath leak detection system used to locate leaks in all flexible and rigid packaging types and various components. With its precise technology, BETty provides a reliable method to identify leaks quickly and efficiently, contributing to improved product quality and
safety.
Accredited test laboratory
The testing laboratory of our parent company encontec is accredited in accordance with DIN EN ISO/IEC 17025:2018. As part of our flexible accreditation, the test procedures can be individually tailored
- Test procedures of our flexible accreditation.
We work with state-of-the-art technical equipment inan area of over 300m2. We provide qualified advice, react quickly and attach great importance to high quality standards. We offer comprehensive services in the fields of materials testing. Our test results provide a valid basis for your damage analysis.
CONFORMITY OF TEST RESULTS
Our decision rule for conformity statements applies to the handling of your measurement results with regard to measurement uncertainties.
TOP EQUIPPED - ASK US
Here is an excerpt from our modern technical equipment pool:
- SEM - Scanning electron microscope
- EDX - Energy dispersive X-ray analysis
- Reflected light / transmitted light microscopes
- Stereomicroscopes
- Digital microscopes
- LSM - Laser scanning microscope
- Grinding and polishing equipment
- Cut-off machines
- Diamond wire saw
- Heating ovens
- Tensile-pressure testing machines
- Roughness measuring devices
- Hardness testers
- ZNH-S nano hardness tester
- Hot/cold embedding and rapid embedding

